

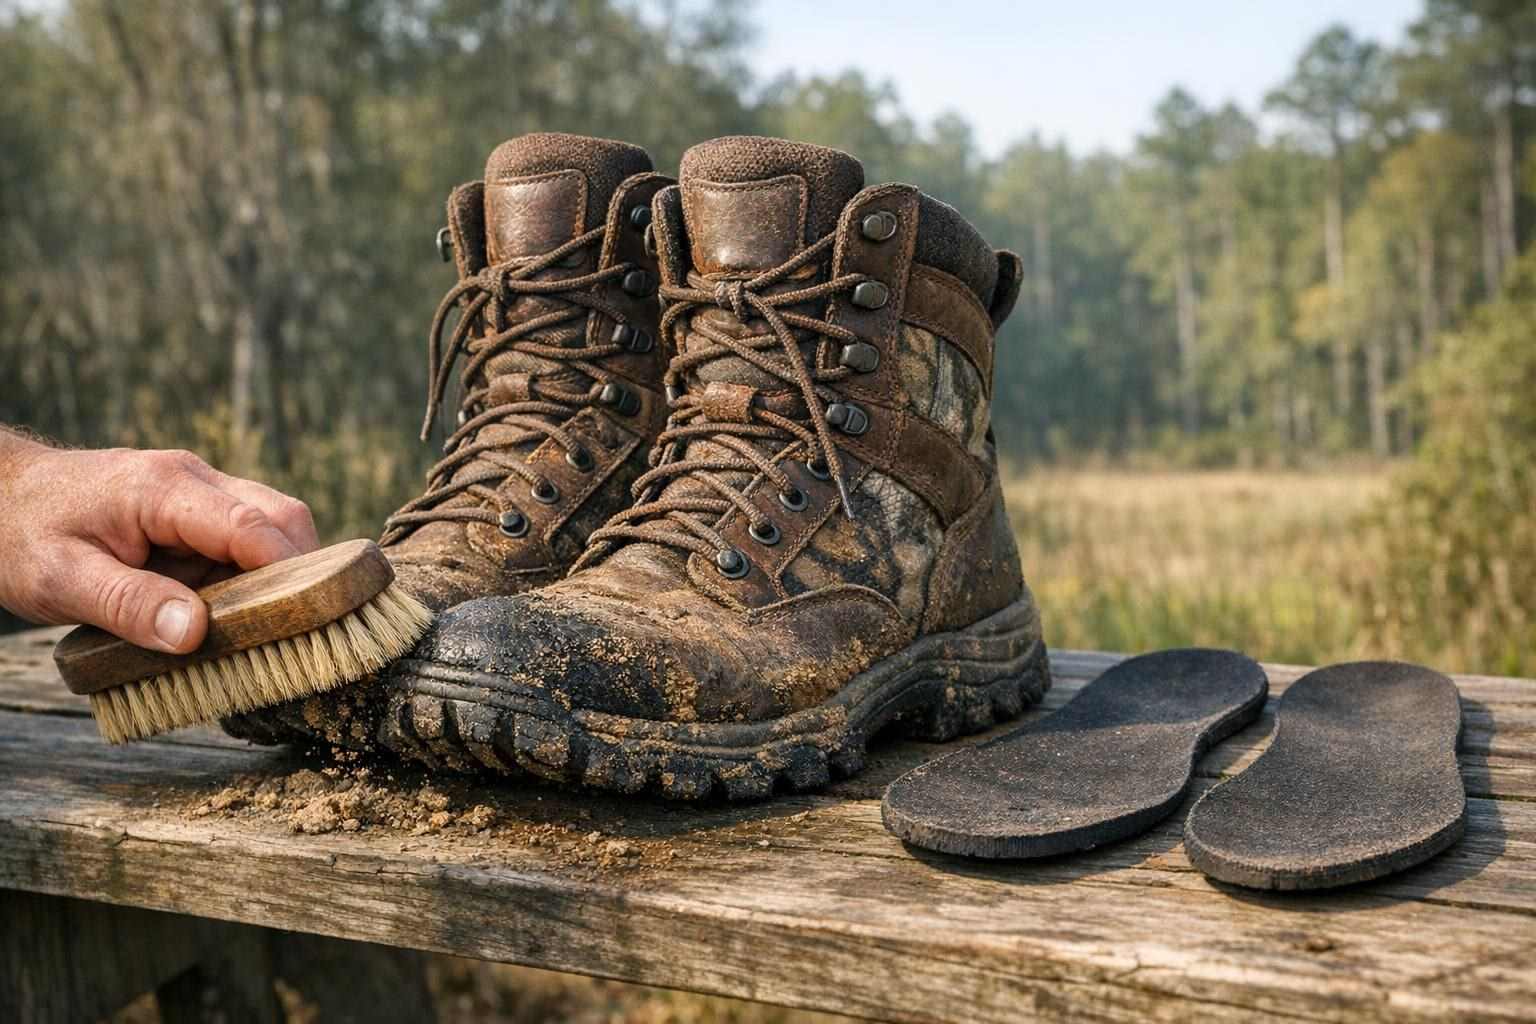
Inspecting your boots after each outing is key to starting to read the early signs of a potential problem before it eventually fails and causes discomfort, poor performance or even allows conditions to get in. Pay particular attention to sole edge, heel attachment, toe cap, eyelets and any stitched or bonded seams for signs of potential failure. Also look for compressed or torn linings and check the insole for any signs of wear or damage. Remove the insole and inspect the inside of the boot for any signs of mud or grit.
Read the early signs before a boot fails
Check for the main stress points of your boots such as the bottom of the sole, the heel attachments, the toe caps, the eyelets, and the stitched or bonded seams. Look for any signs of separation, unusual flex, or cracks in the material. Check also for any damp patches inside the boot, even if the outside looks to be completely dry.
Check the collar and the tongue for signs of compression. A torn lining will also cause discomfort and must be repaired before wearing the boots. Inspect the insole for signs of moisture. A musty smell or feeling of coolness or clamminess against your foot indicate that there is moisture trapped between the insole and the footbed. Look for dark spots on the insole too.
For instance, a boot left outside after use may develop mud hardening on the soles or within the gussets. Likewise, fine sand can get into the toe area of a boot and within the collar, gussets and soles of the footwear. This can all occur within a short space of time and needs to be cleared out prior to storage of the boot(s) in order to get the best out of them.
Match tread and materials to mud and sand
Sole tread for mud needs more than a sole with deep and wide tread lugs. In most cases the ground needs to be thoroughly cleared of mud, no matter how aggressive the tread pattern. Hardened mud on the sole can even cause the sole to become deformed and to no longer fit the foot properly.
Also for wet ground one must pay attention to how the waterproofing at the tongue, seams and opening of the boot is holding up. A waterproof and breathable membrane or treatment of the leather is not sufficient in itself. The boot must also be in good condition and properly cared for in order to function as intended. Conversely, damage to coatings, open seams or worn closures can allow water to penetrate the boot even if it is equipped with the best of membranes and treatments.
While the vast amount of sand will fall out of your boots quickly enough, very fine grit will penetrate into the softest areas of your foot's surrounds: into the upper collar, into the lace areas, into the soles' tread grooves and into all of the boot's moving seams. A very soft, flexible boot can initially feel great but will allow for excessive movement within the boot's interior as soonsequently the fit will become very loose and begin to 'squash' your toes, within a short period of time.
Don't just buy a pair of boots by their name. Look at the tread, the upper, the lacing and the intended use. A stiff and heavily insulated boot is OK for cold wet days but a nightmare for warmer days. Lighter boots may dry more quickly but offer less protection against vermin, deep water and very rough ground.
Keep grit from becoming a fit problem
Once you have cleared the largest pieces of dirt from your boots, use a soft brush (such as an old toothbrush) to clean out the soles, stitching, eyelets and other holes in the uppers. Use a piece of wood or a similar tool to clear out the deep channels in tread. Remember not to use sharp objects as they can cut or tear the rubber or other materials used in the soles and uppers of your boots.
Rinse only if you are sure it is okay to do so for the outer material/s. Be aware that many boot uppers will suffer if saturated with water and cleaned with harsh household detergents. Gentle soap and a damp cloth are usually sufficient to clean visible areas of the outer sole and upper.
After you have removed dirt and grit from your boots make sure to clean the tongue and the inside of the insole too. These areas are easy to miss but can hold loads of grit against your feet. Once you have cleaned your boots make sure to flex them and check for any cracks, loose stitches or where the upper may be starting to come away from the sole.
Check the manufacturer's instructions for using treatments on leather and other upper materials. What may be suitable for smooth leather may not be suitable for fabrics, suede-like upper materials or upper materials containing membranes.
Dry damp footwear without damaging it
Next you have to allow your boots to dry out as well. To do this you remove the laces and the insoles and pull the tongue down to get as much debris out as possible. You then put the boots in the same sort of place to dry as you would store them. They need to be at room temperature and have good air circulation both in and out of the boots.
Heat causes rapid deterioration to many types of footwear and should always be avoided when attempting to dry boots. Never place boots near a heater or over a heat vent, even for a short period of time. Solid newspapers or plain absorbent paper may be left in the boots to help draw out moisture. However, these should be changed as they become damp, and should not be crumpled up inside the boot to try and hurry up the drying process.
A boot that feels dry on the outside can still have moisture left in the footbed, the lining or the toe box. It may need more time to fully dry. Do not store your footwear in a plastic container or in a plastic bag as the humidity will cause odor and damage to the materials. Storing boots in dry locations such as hallways, lobbies and entryways is ideal.
Do not store damp boot(s) in a plastic bag or in a sealed container. Leave the boots in a breathable location away from standing water and do not compress them under heavy gear. Store boots upright or in as natural a folded shape as possible and keep the insoles separate as they tend to be slowest to dry.
Know when cleaning is no longer enough
Whilst cleaning a boot can remove dirt and grit from it, it will not repair a separating sole, worn tread or even repair damage to a boot's waterproofing. A boot's heel should not rock about and the sole should not peel off. Also, any seam in a boot should not open up and the inside of a boot should not become wet in use on normal use on the ground.
Check the manufacturer's guidance for repair and for care before attempting to fix your footwear with glue or a sealant. Additionally, items such as conditioners need to be used in accordance with the manufacturer's advice. Ultimately, if your footwear no longer gives you the secure grip or the suitable level of support then it's probably time to be replaced and be upgraded to a new and suitable pair of footwear for your outdoor activities.
Making footwear maintenance a priority, examining footwear after a trip, removing as much mud and sand as possible before they dry, letting all parts of footwear dry slowly, and then checking them out before the next trip for any damage can reveal minor defects before they become serious problems and make sure that you have the right footwear for future outdoor activities on changing terrain and weather.